Building the enclosure.
DIY HVAC CHAMBER
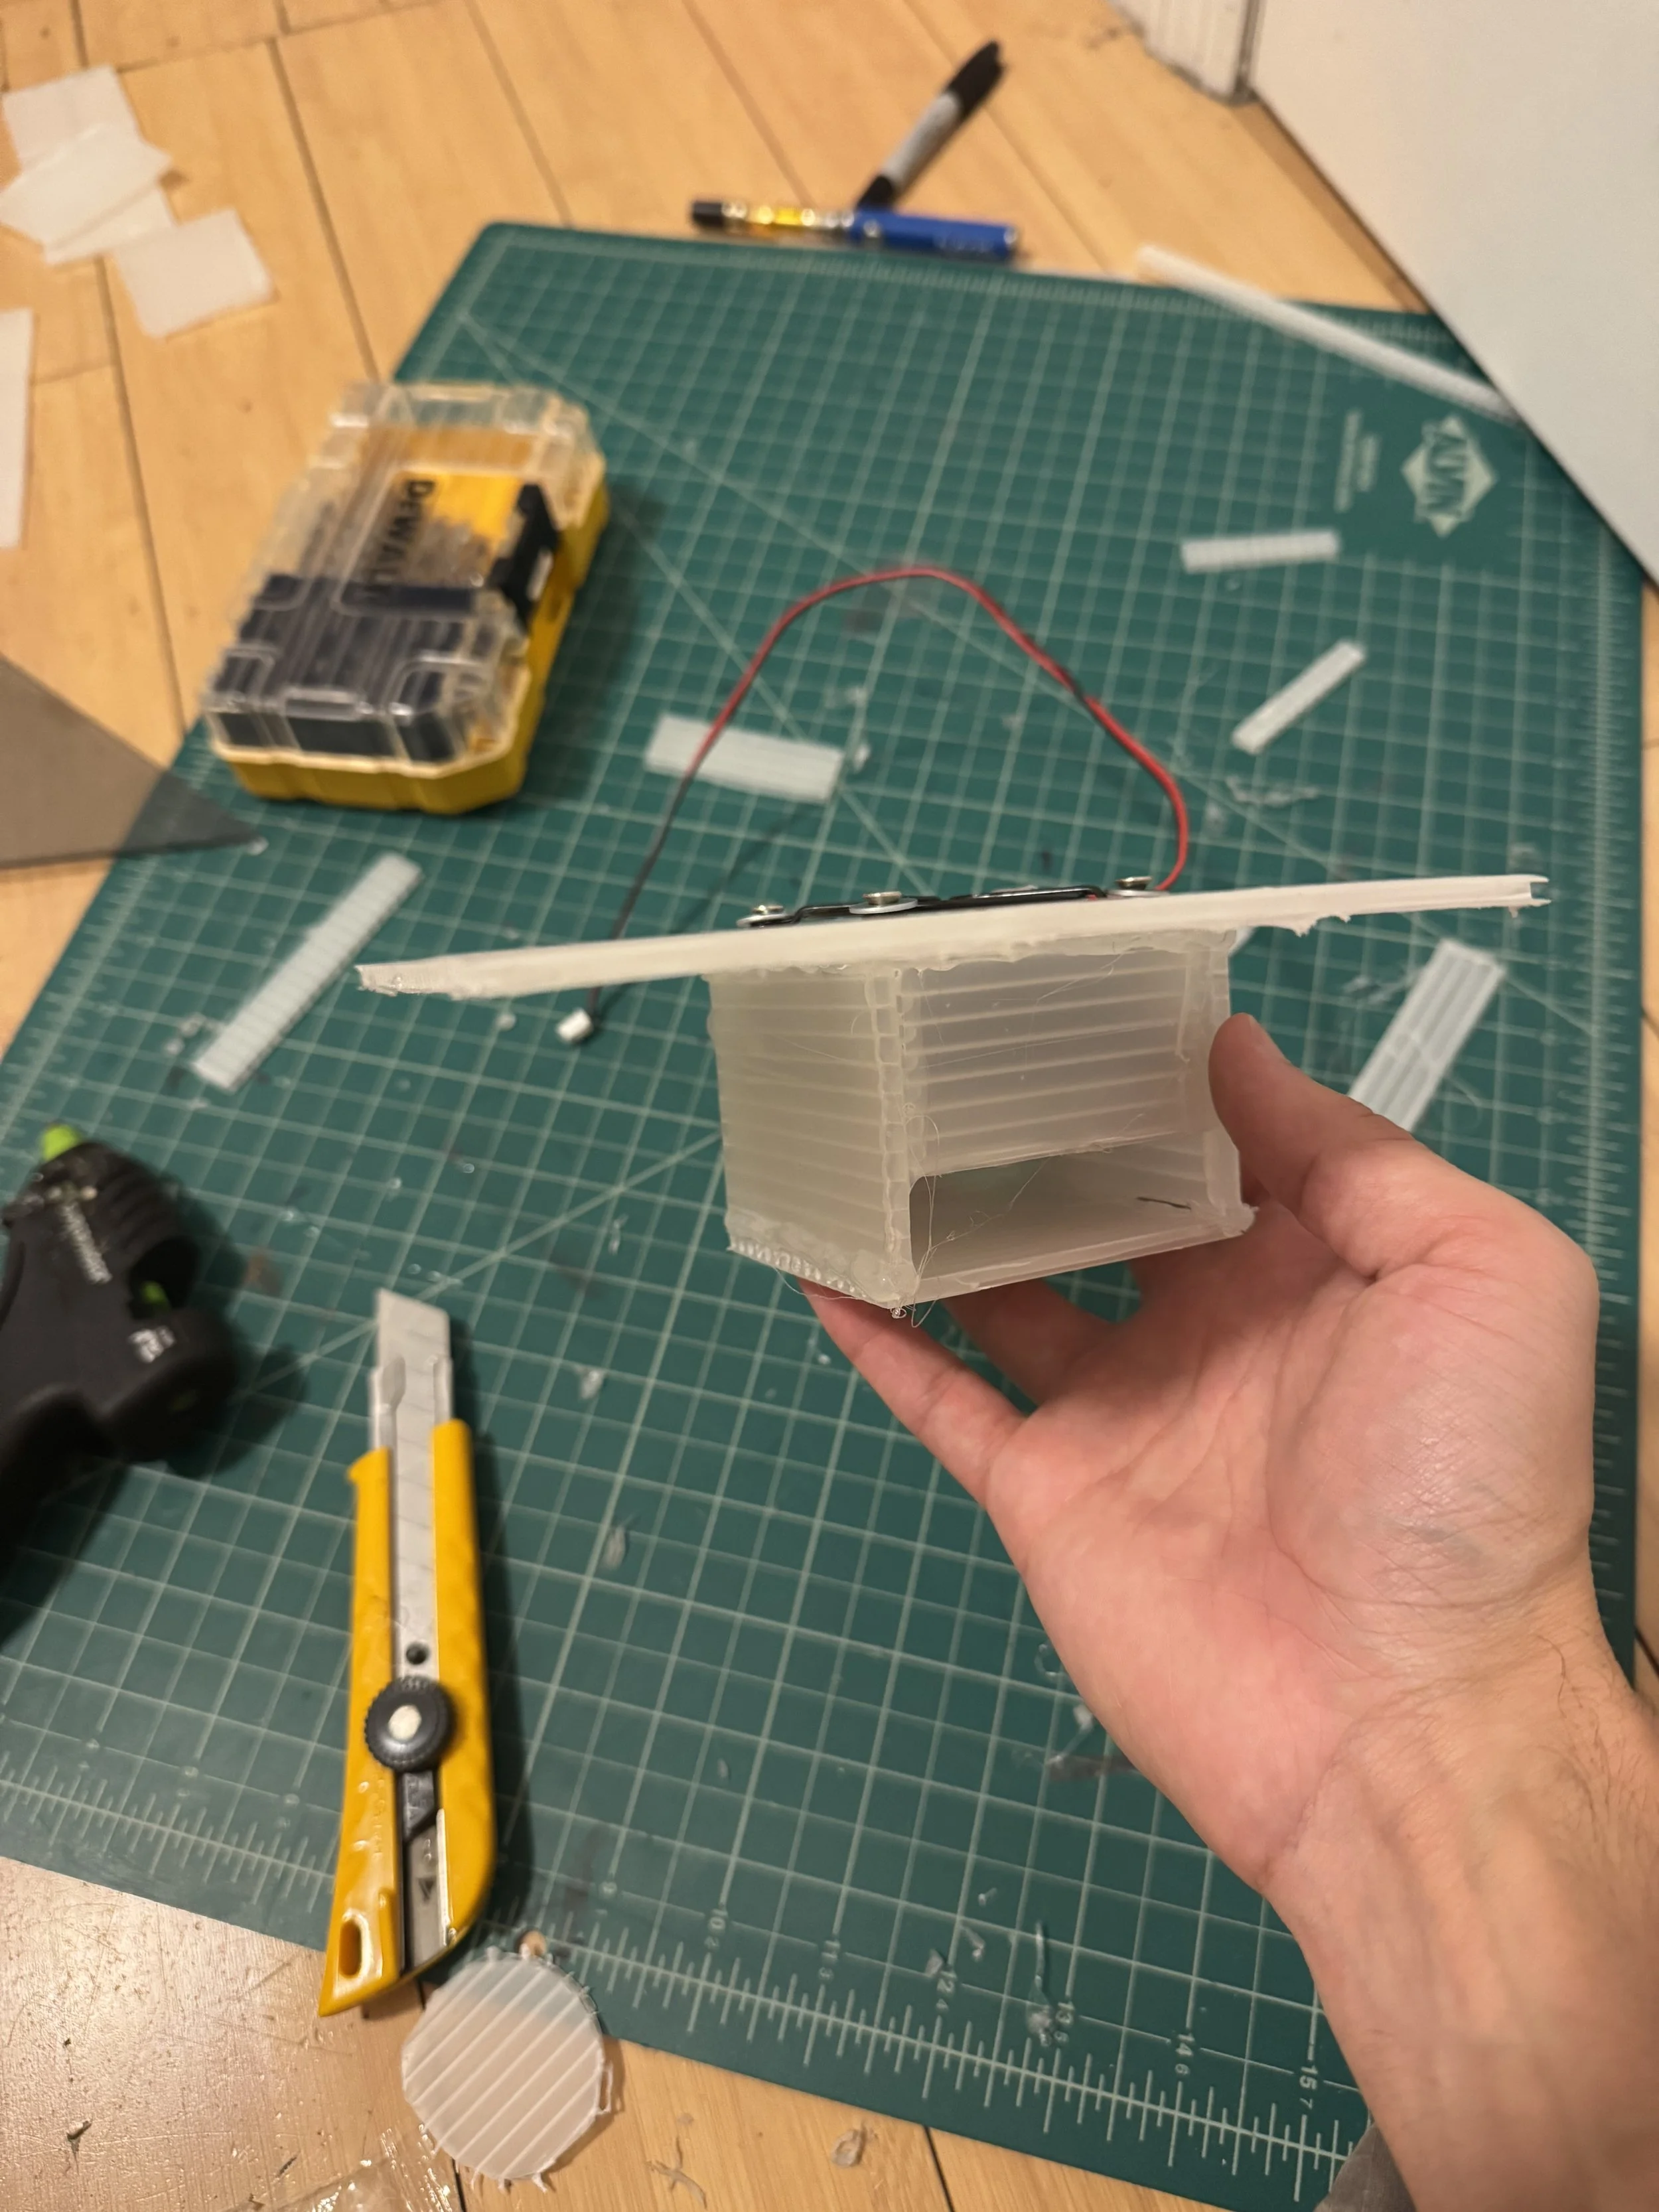
This is the design I settled on. This chamber is about 6 inches tall toast with about 2.5 inches for the input and output chambers.
Exhaust Vent
To keep the ball in place I fixed two curved wires creating a cage so the ball is free to float up, but it will always land back in the hole creating the seal.
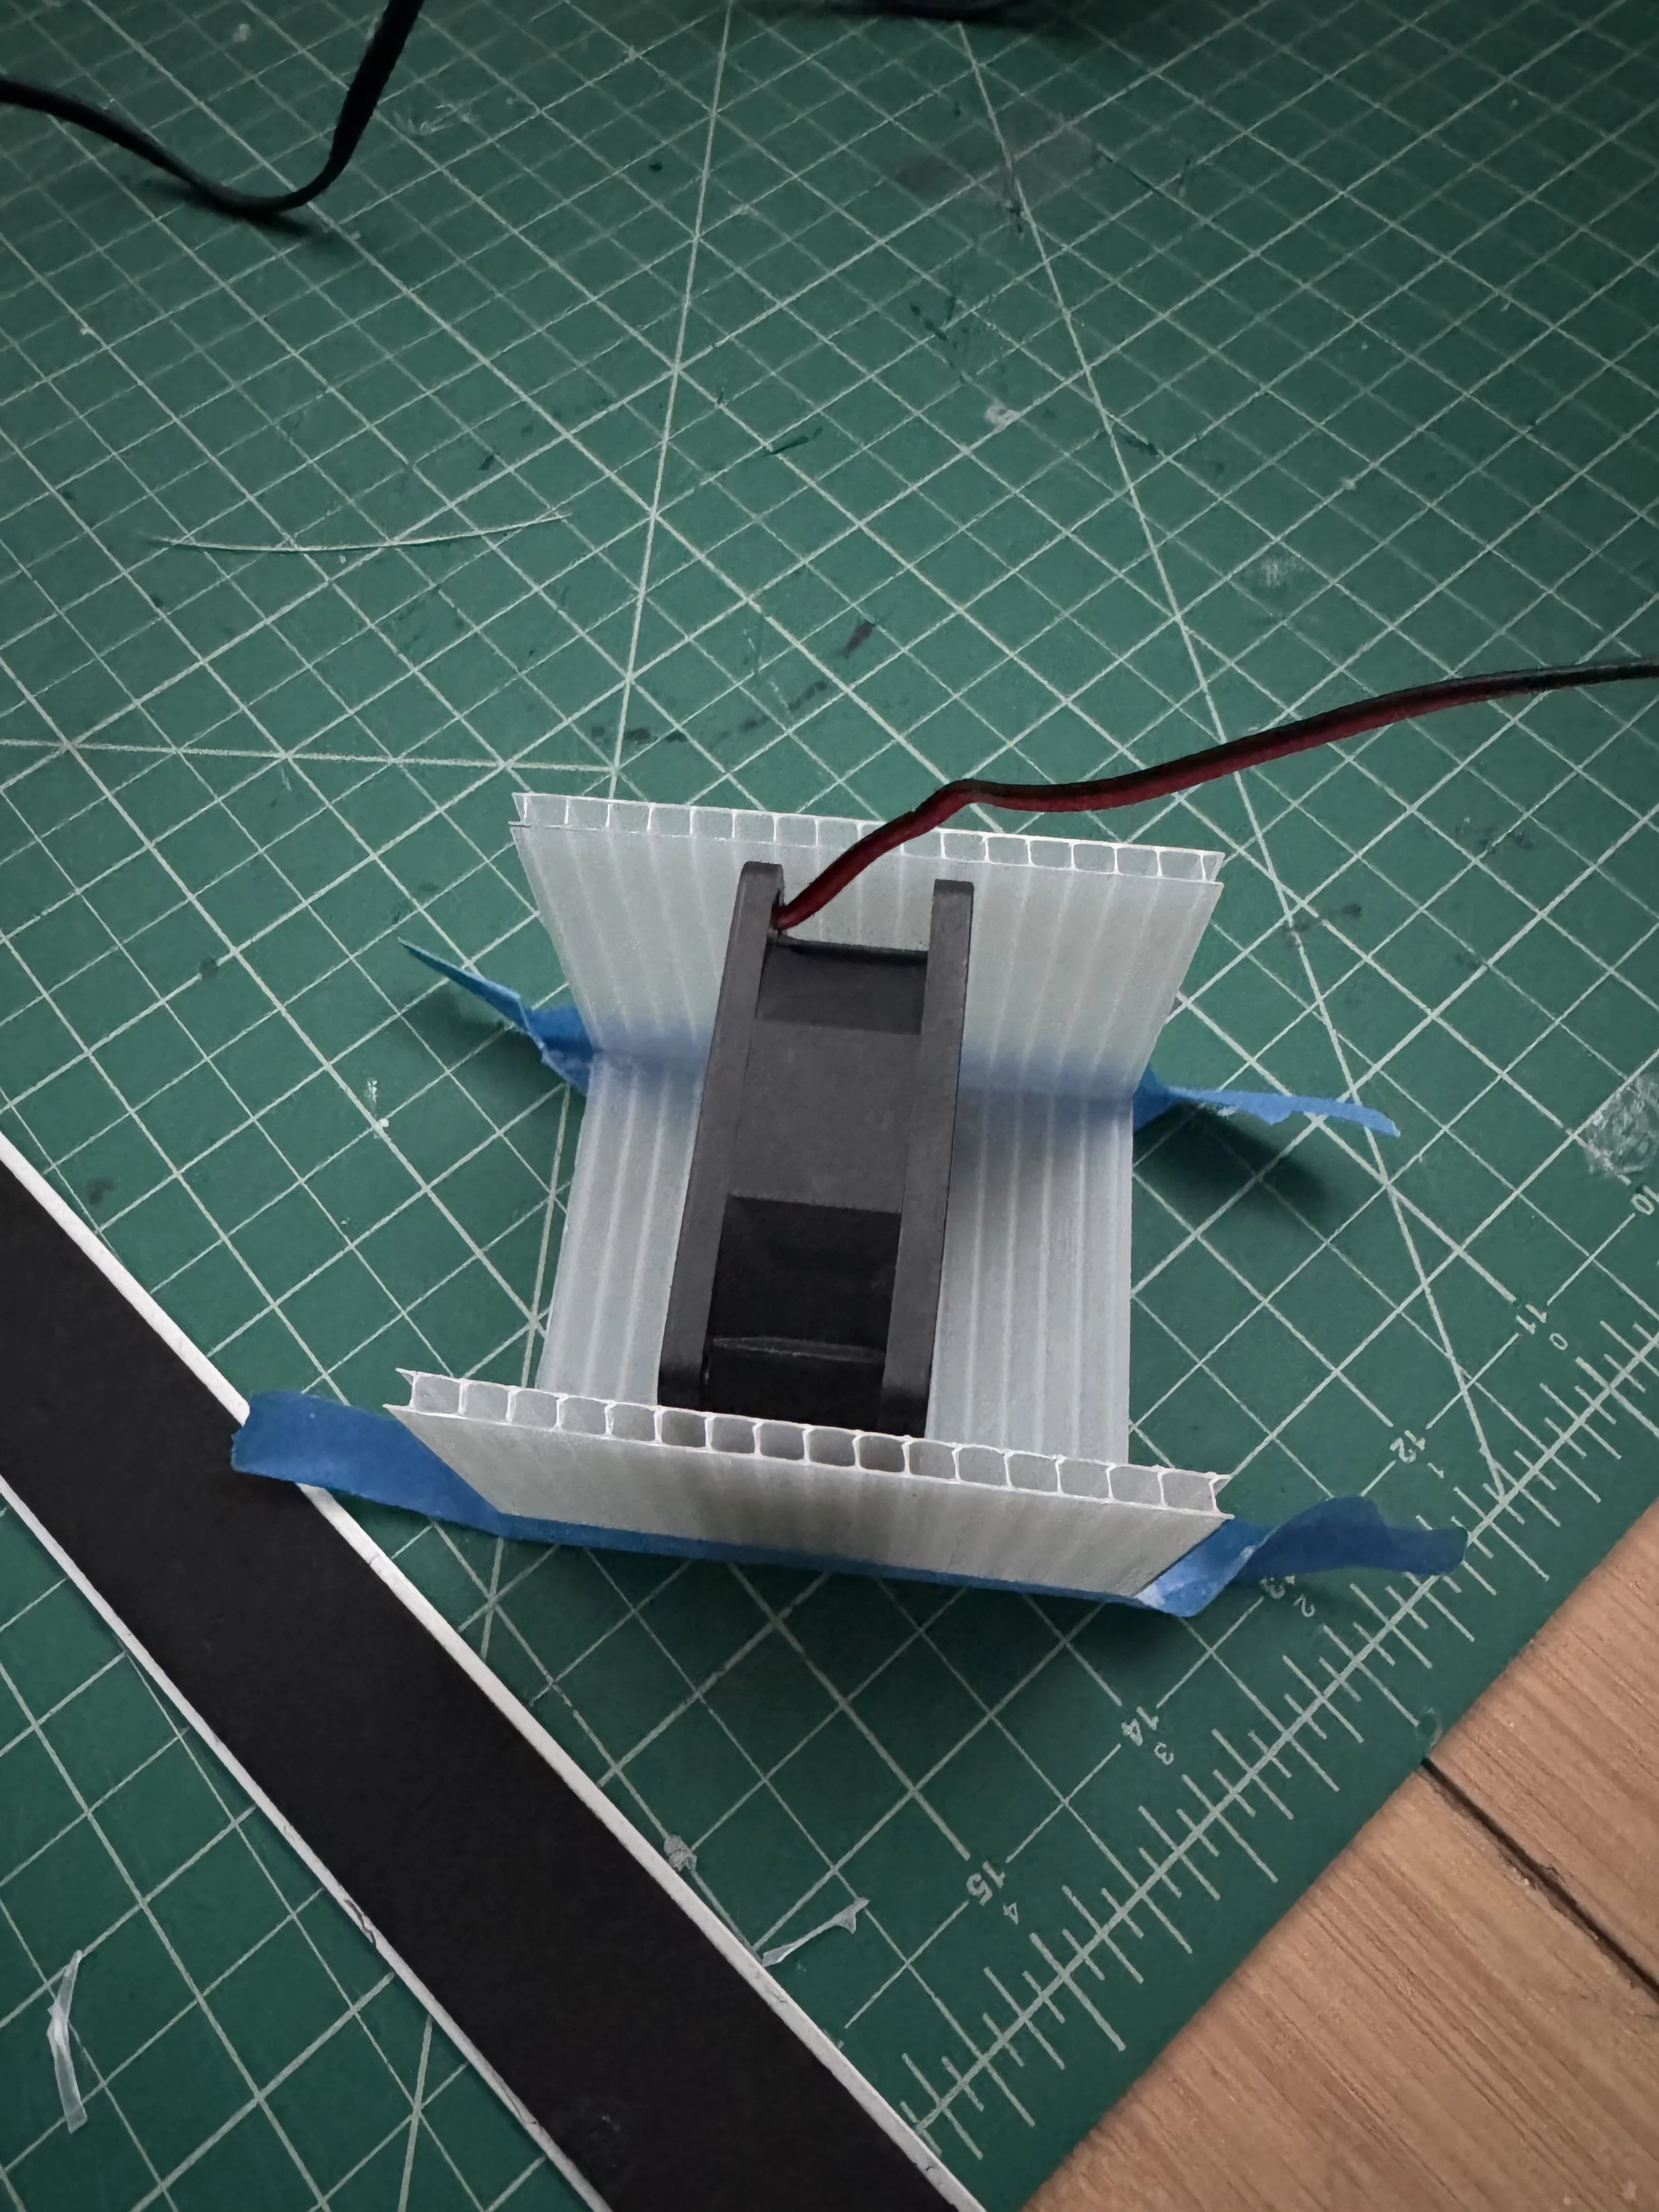
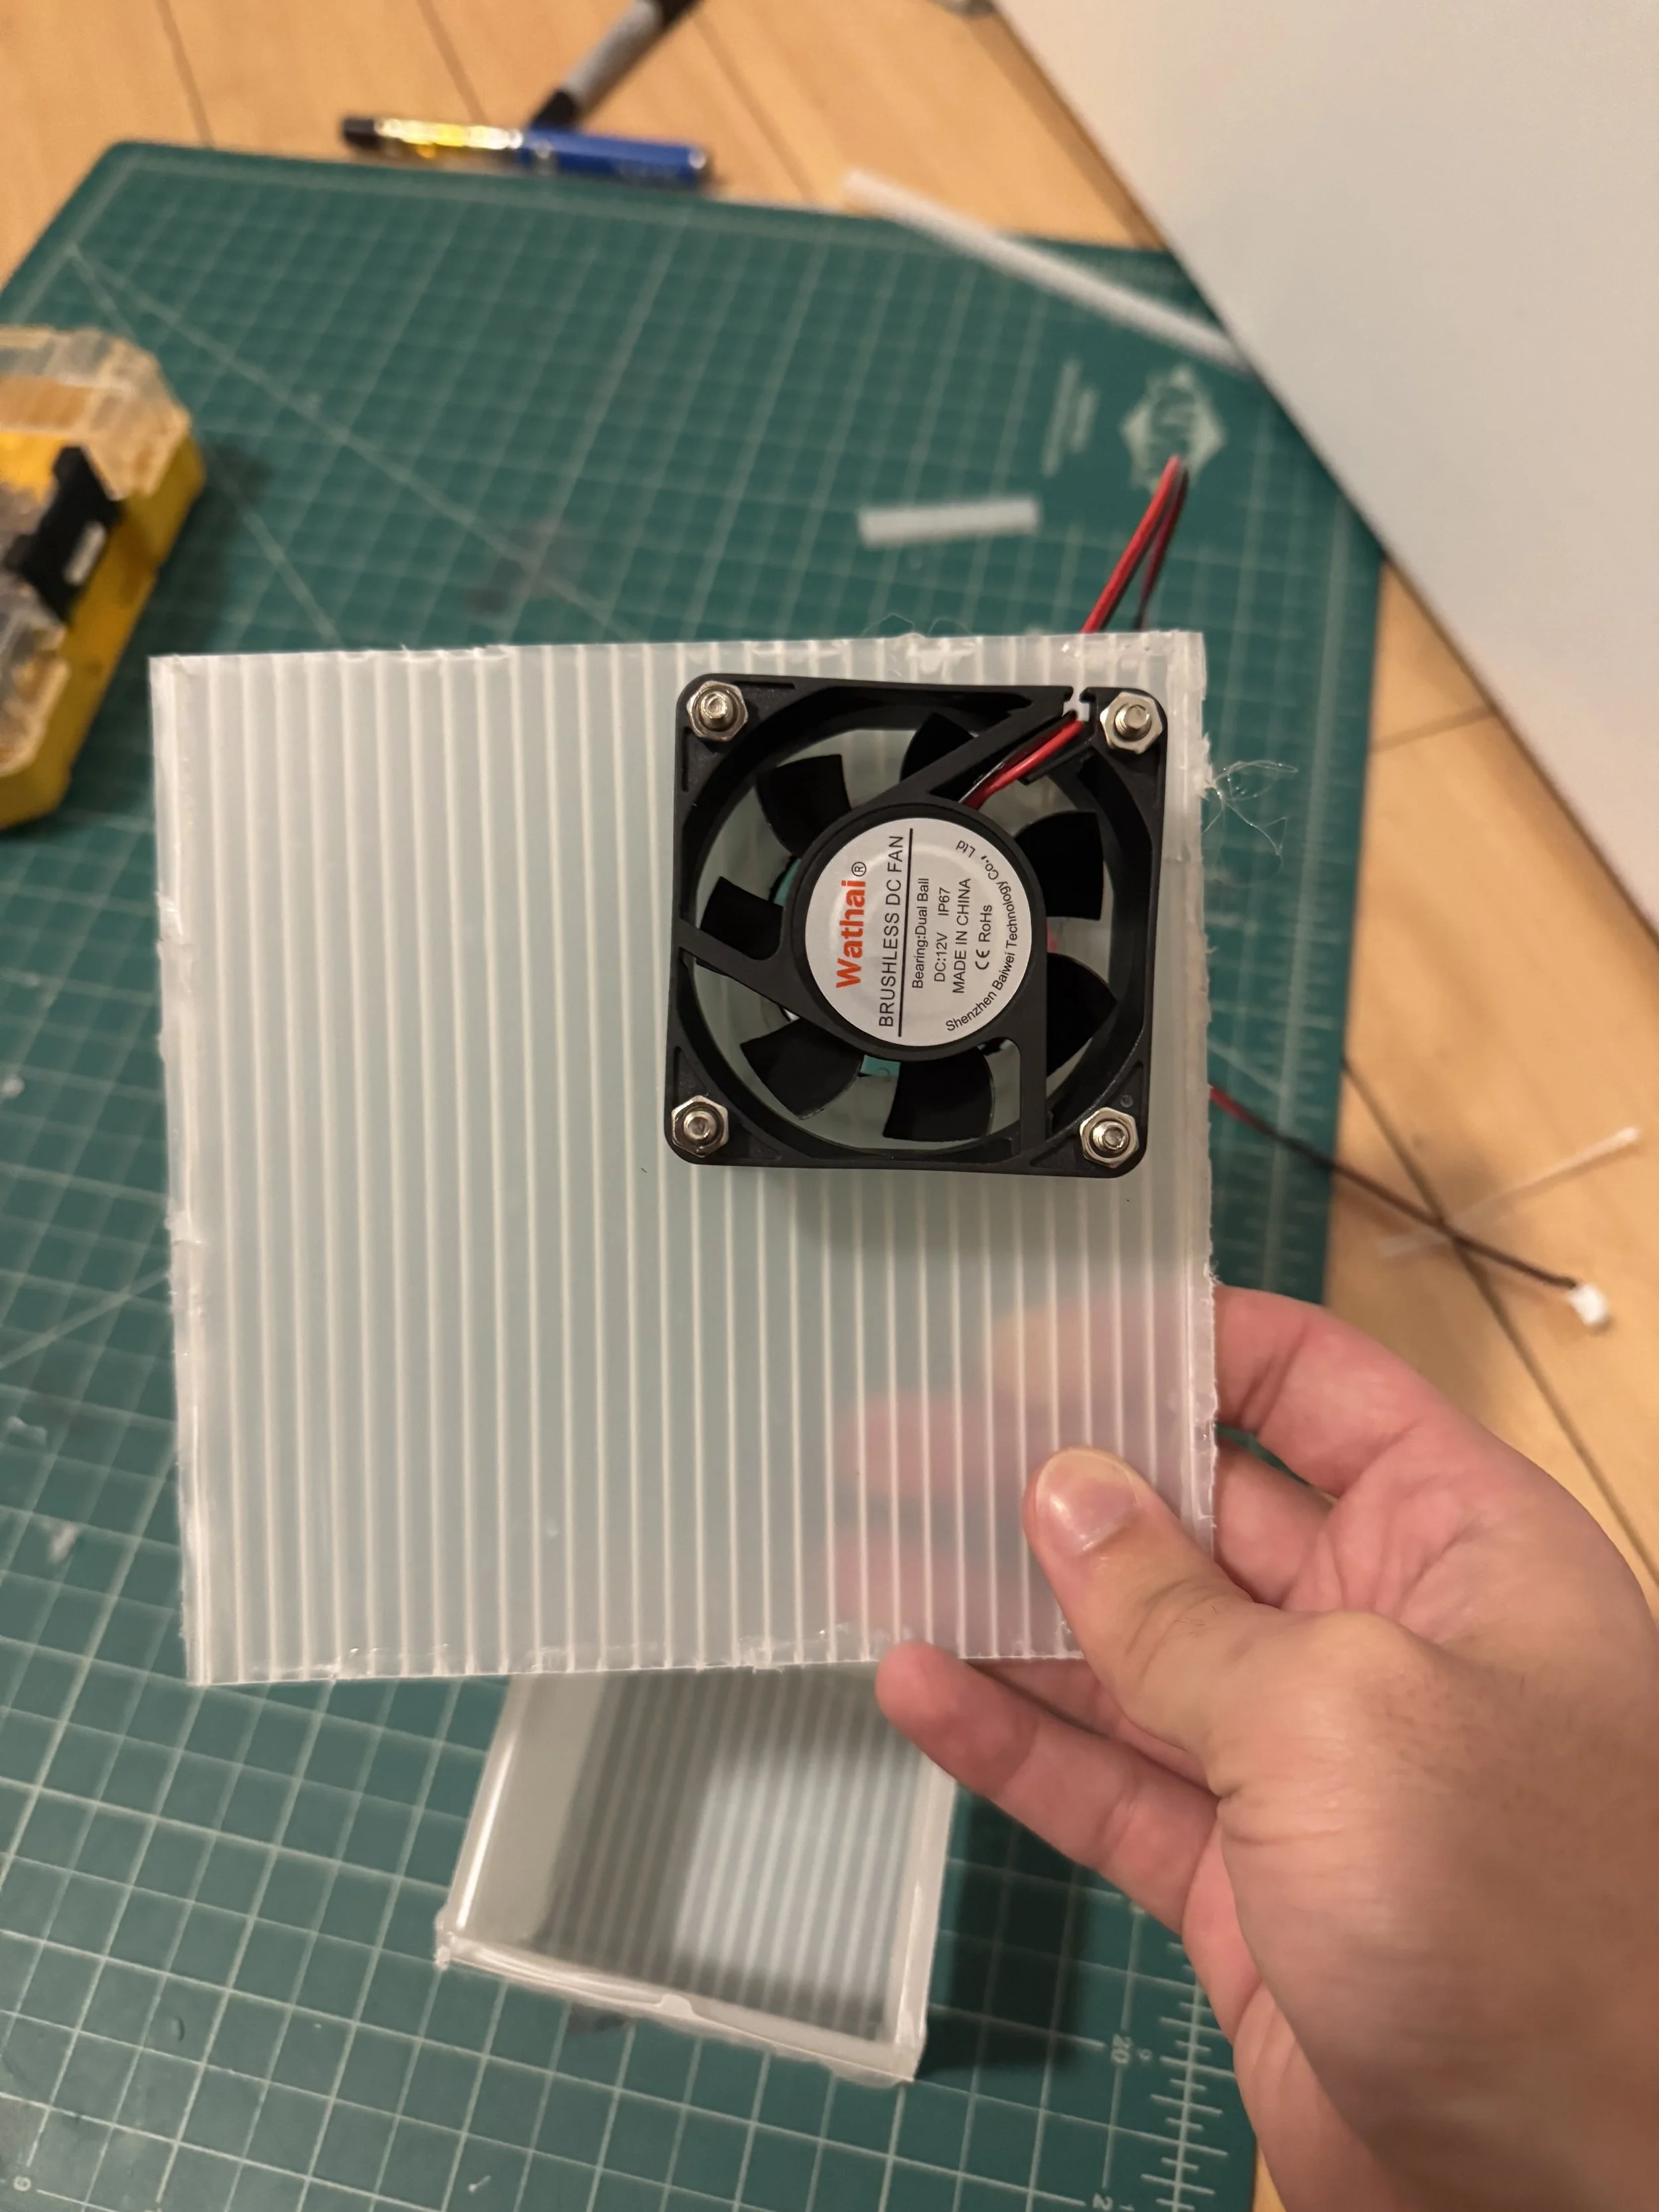
My initial design had very poor airflow. My first test was to remove the slots holding the fan in place and to just glue it in place. This helped a little but not much. I began researching how these systems are built and discovered the DC fan is very poor when airflow is constricted and I needed to build a chamber with move space for the air to gather.
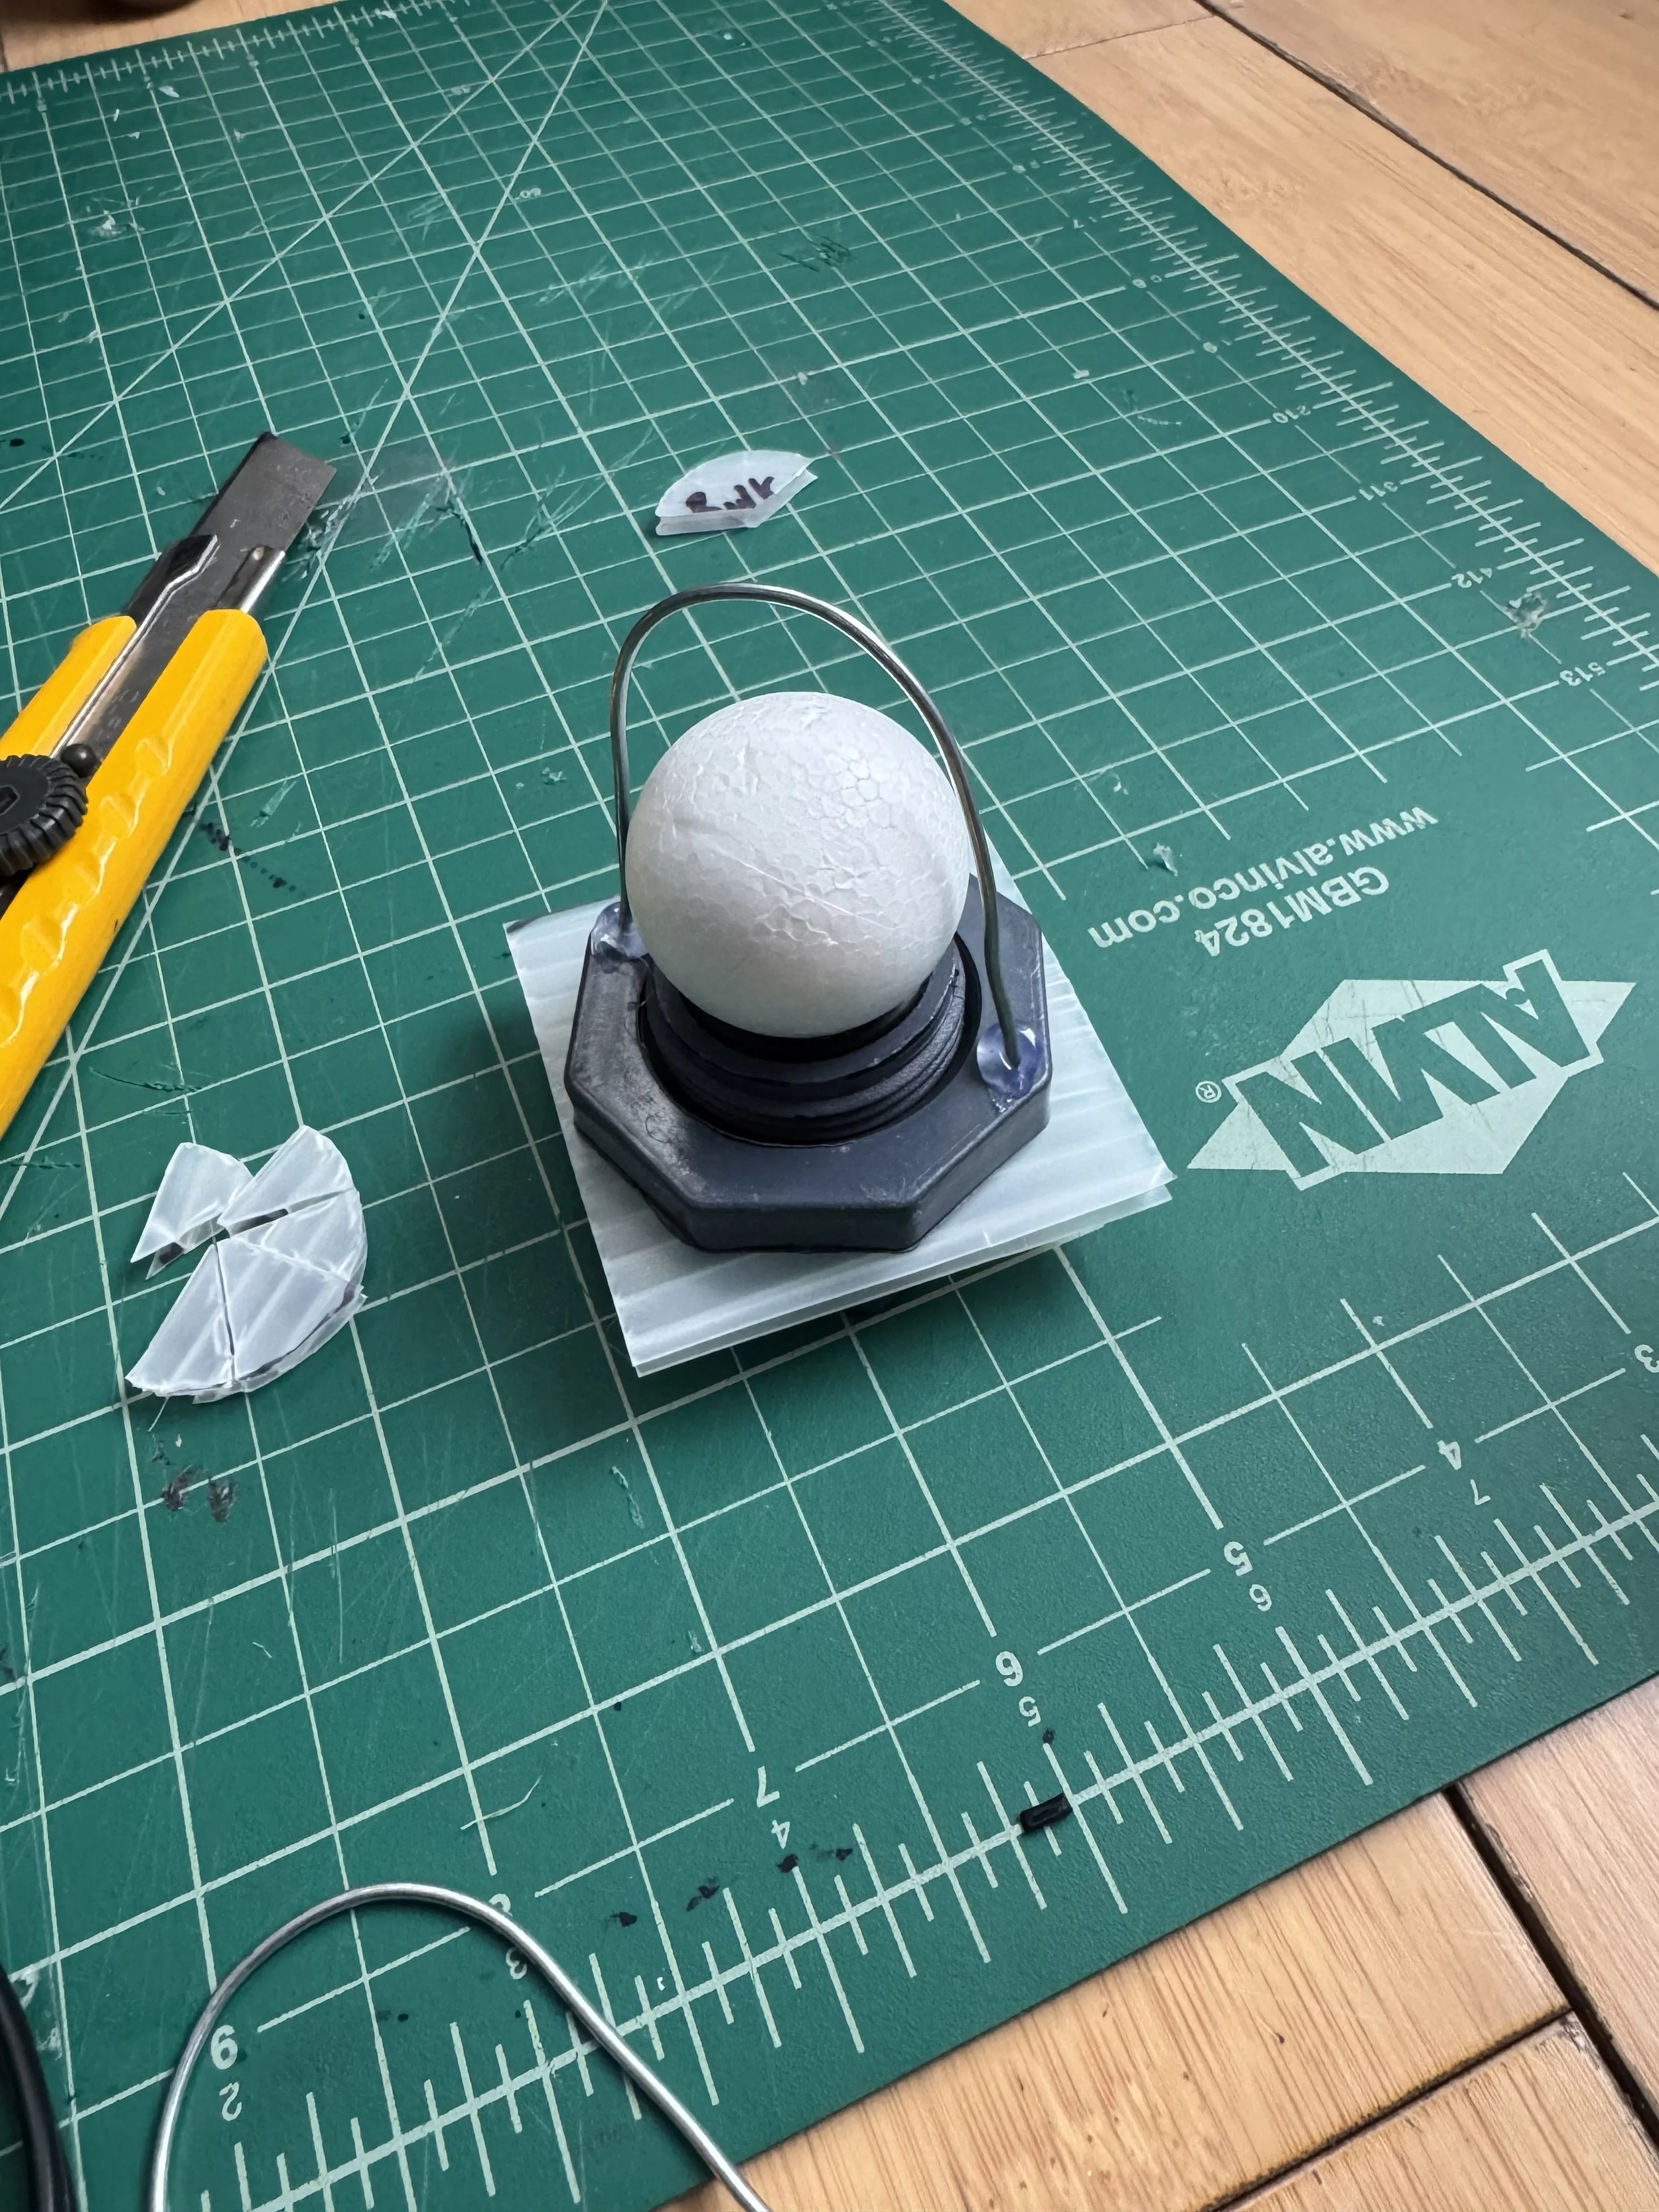
For building the exhaust vent my main challenge was creating a one way valve that didn’t require any motor beyond the fan pulling air. I started on this gravity valve using a lightweight foam ball, bulkhead and silicone ring. Luckily the bulkhead and silicone ring had a perfect but allowing the ball to sit in the hole and create a seal.
Miles Phillips
November 19, 2025
I took what I built in November and pushed it further by shrinking everything down to one plant. I built a fully sealed 6x6x9 inch enclosure around a Neofinetia falcata, chosen partly because I like the plant and partly because I have another one. Knowing there was a backup made it easier to experiment without being overly cautious.
A lot of time went into the physical side of the system. I learned more about PCBs, soldering, and wiring, all of which were new to me for the most part. I spent days just figuring out airflow, how to move air gently, how to exhaust it without leaks, and how not to overwhelm the environment I was trying to control.
I also spent time wiring and testing sensors, learning how they behave in practice instead of on spec sheets. Temperature, humidity, and light data were logged locally on a Jetson Orin Nano and mirrored to Google Sheets so I could check in on the system without babysitting it. Once things were stable, I ran simple block tests to see how fans and actuators actually changed the enclosure, which helped turn a lot of assumptions into something measurable.
By the end of the month, the enclosure worked and the data looked clean, but the biggest takeaway was not technical. Spending so much time fine tuning an environment made it clear that this problem has already been solved in many ways. More importantly, the plant itself was still one step removed from the system.
Moving forward, I want to focus on what data points I can extract directly from the plant. Instead of inferring plant health through environmental proxies, I am interested in whether bioelectrical signals can be translated into useful information and used as a more direct input for understanding and responding to a plant’s needs.
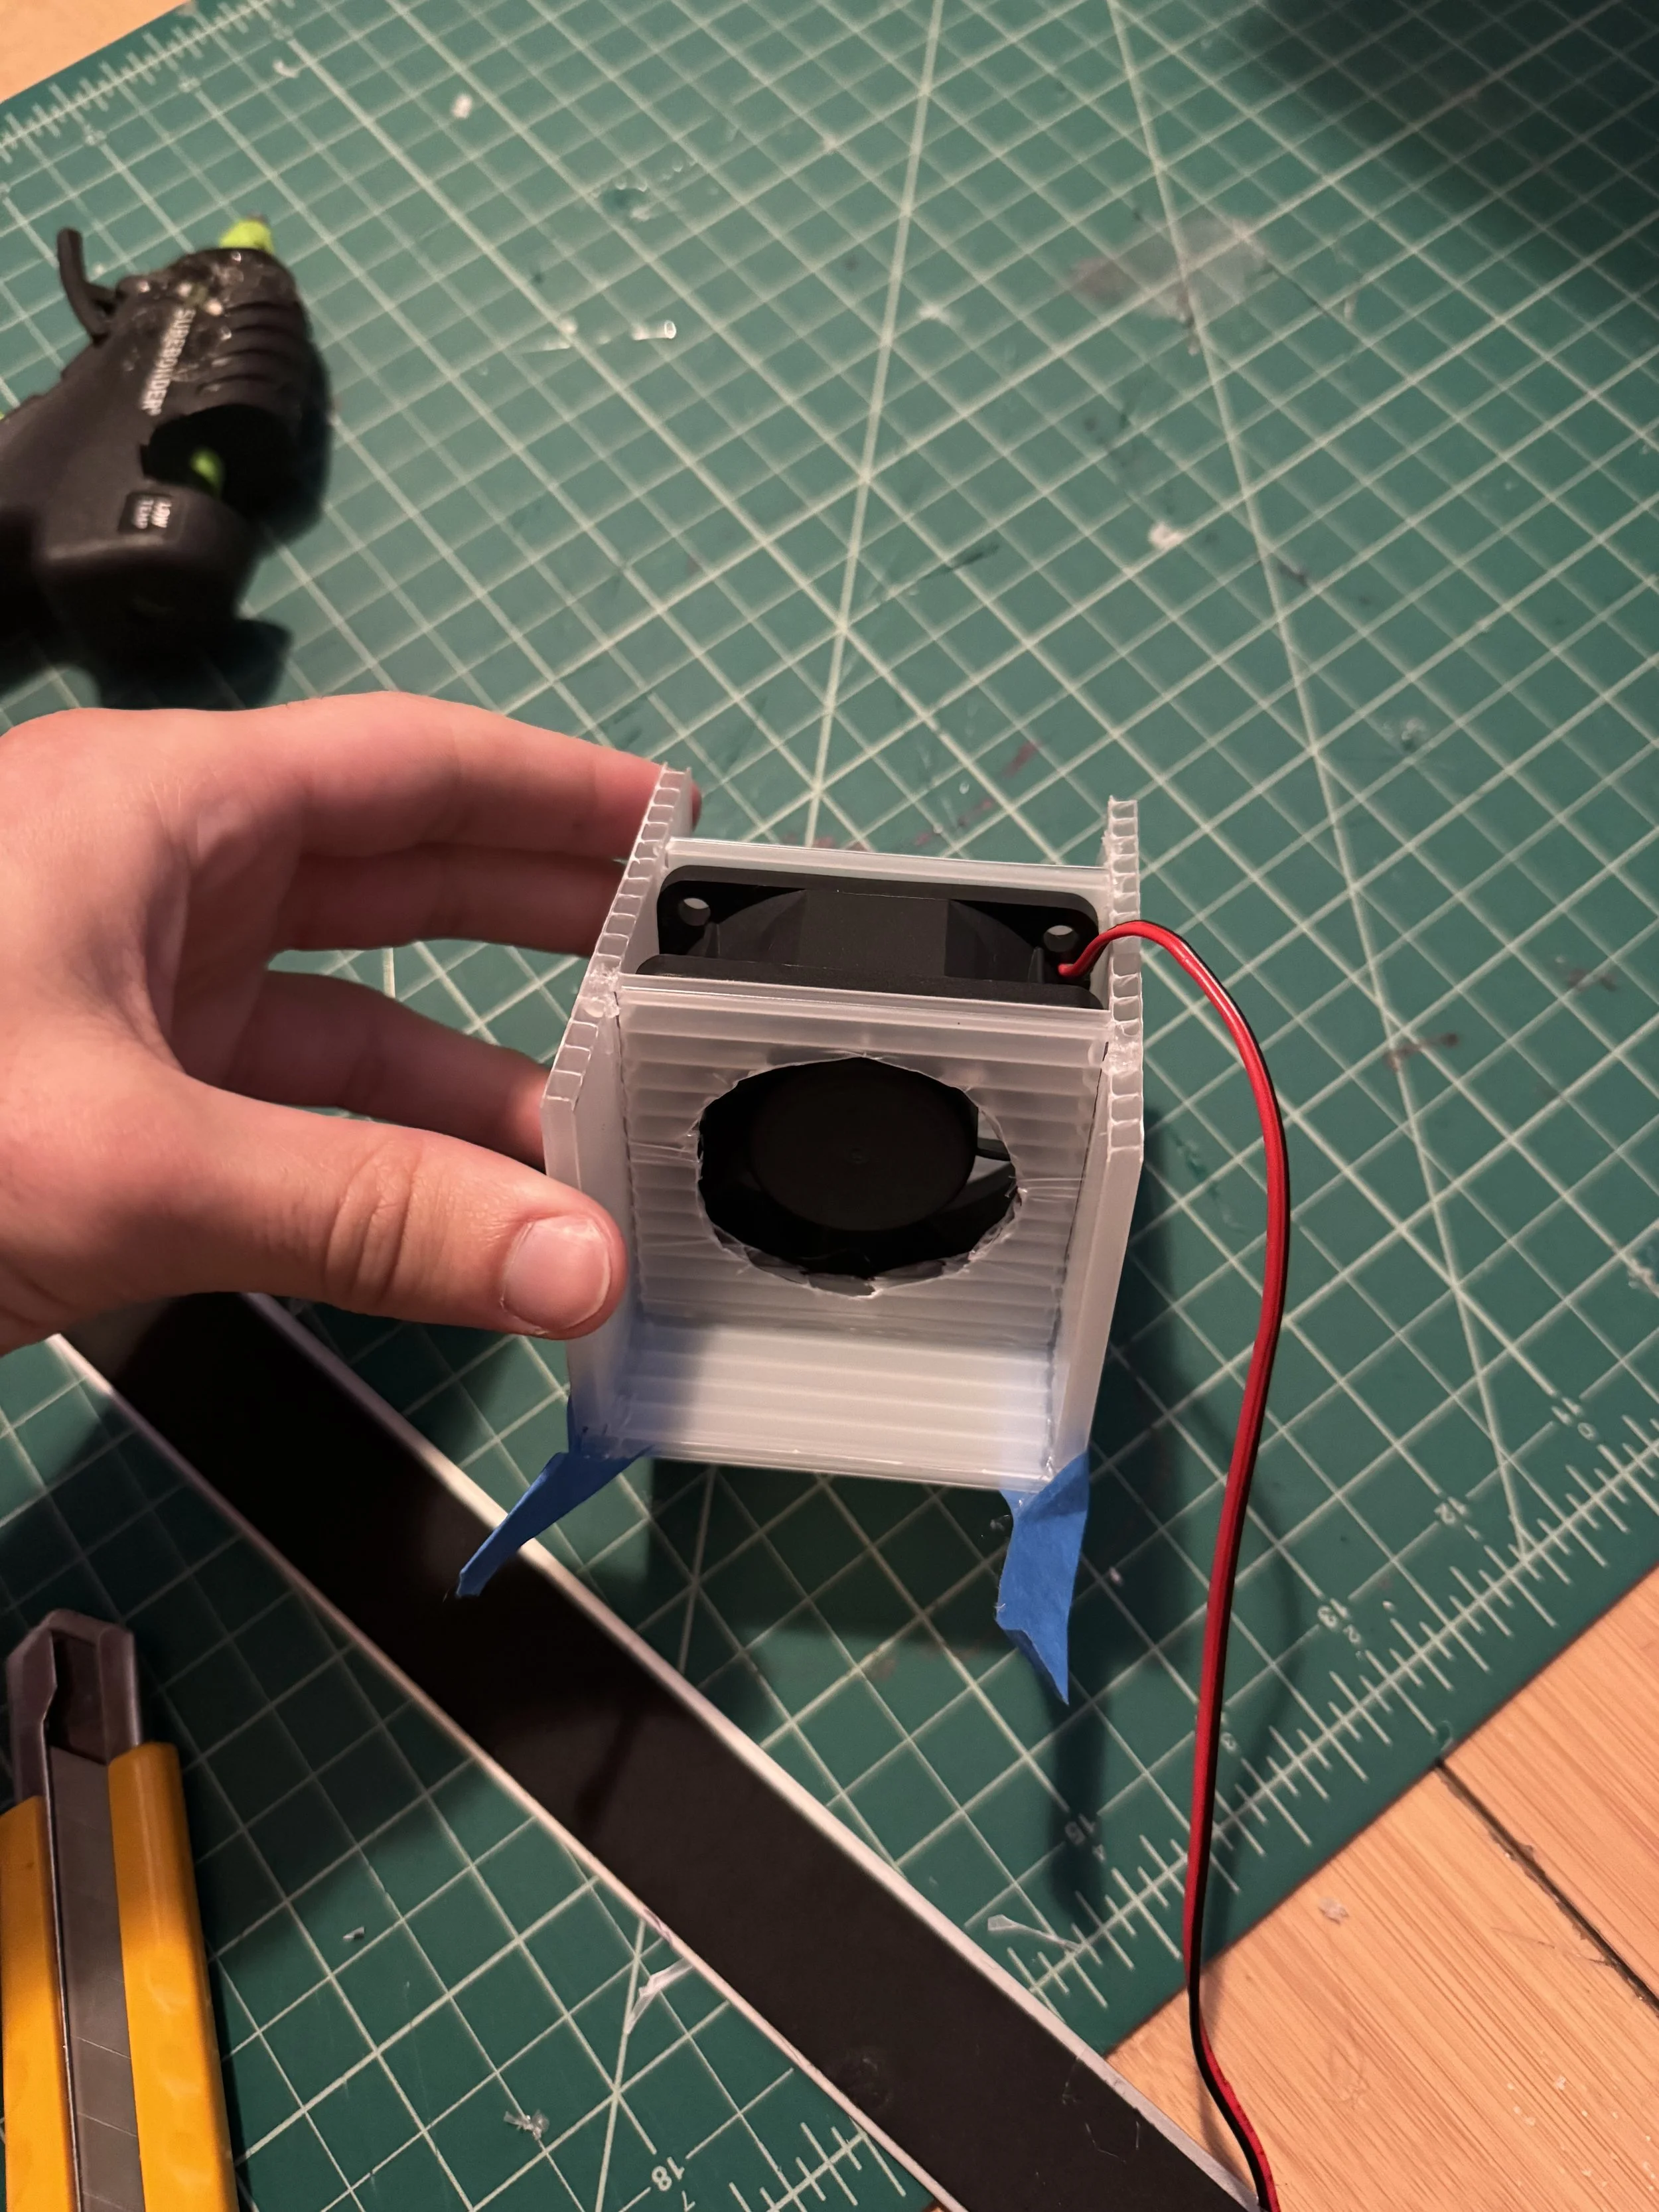
To use the DC fan I had I needed to build some sort of chamber where a push and pull is created that I can connect to an input and output on the enclosure. I started off by building this small chamber with a slots to hold the fan in the middle.
InItial Direction
Initially I planned on keeping everything within the enclosure but it quickly became clear that wouldn’t be possible in such a small enclosure.
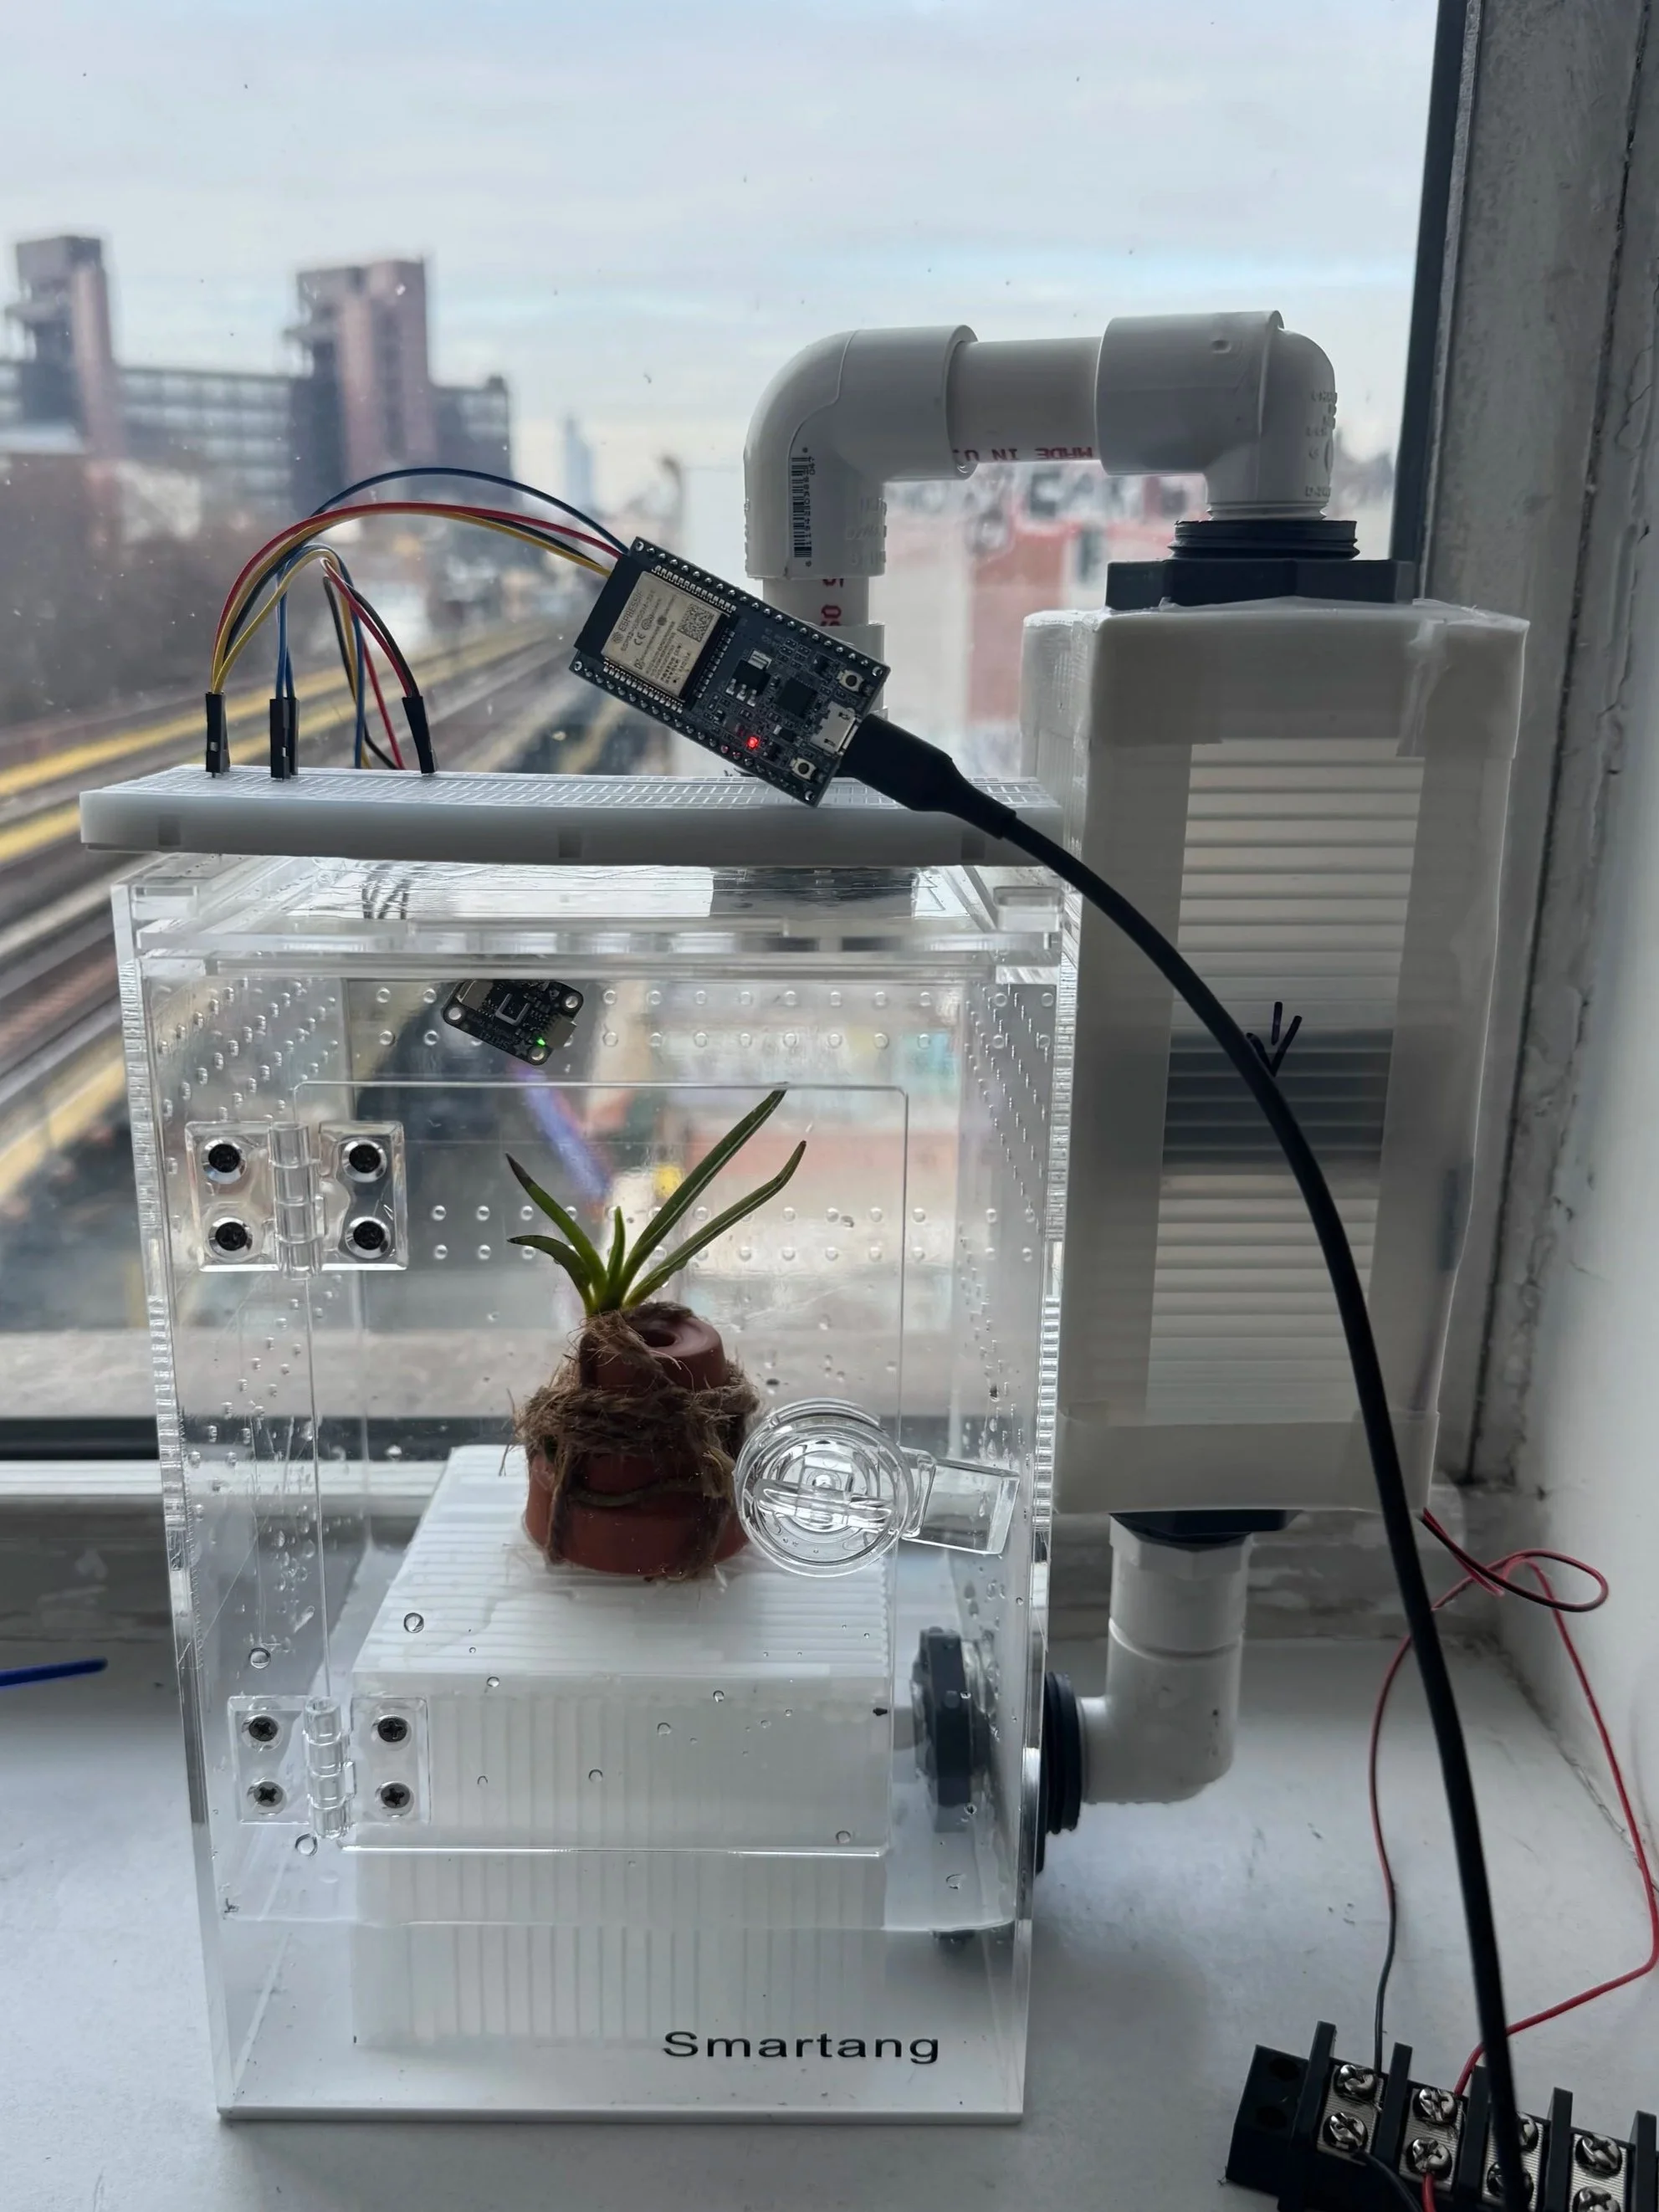
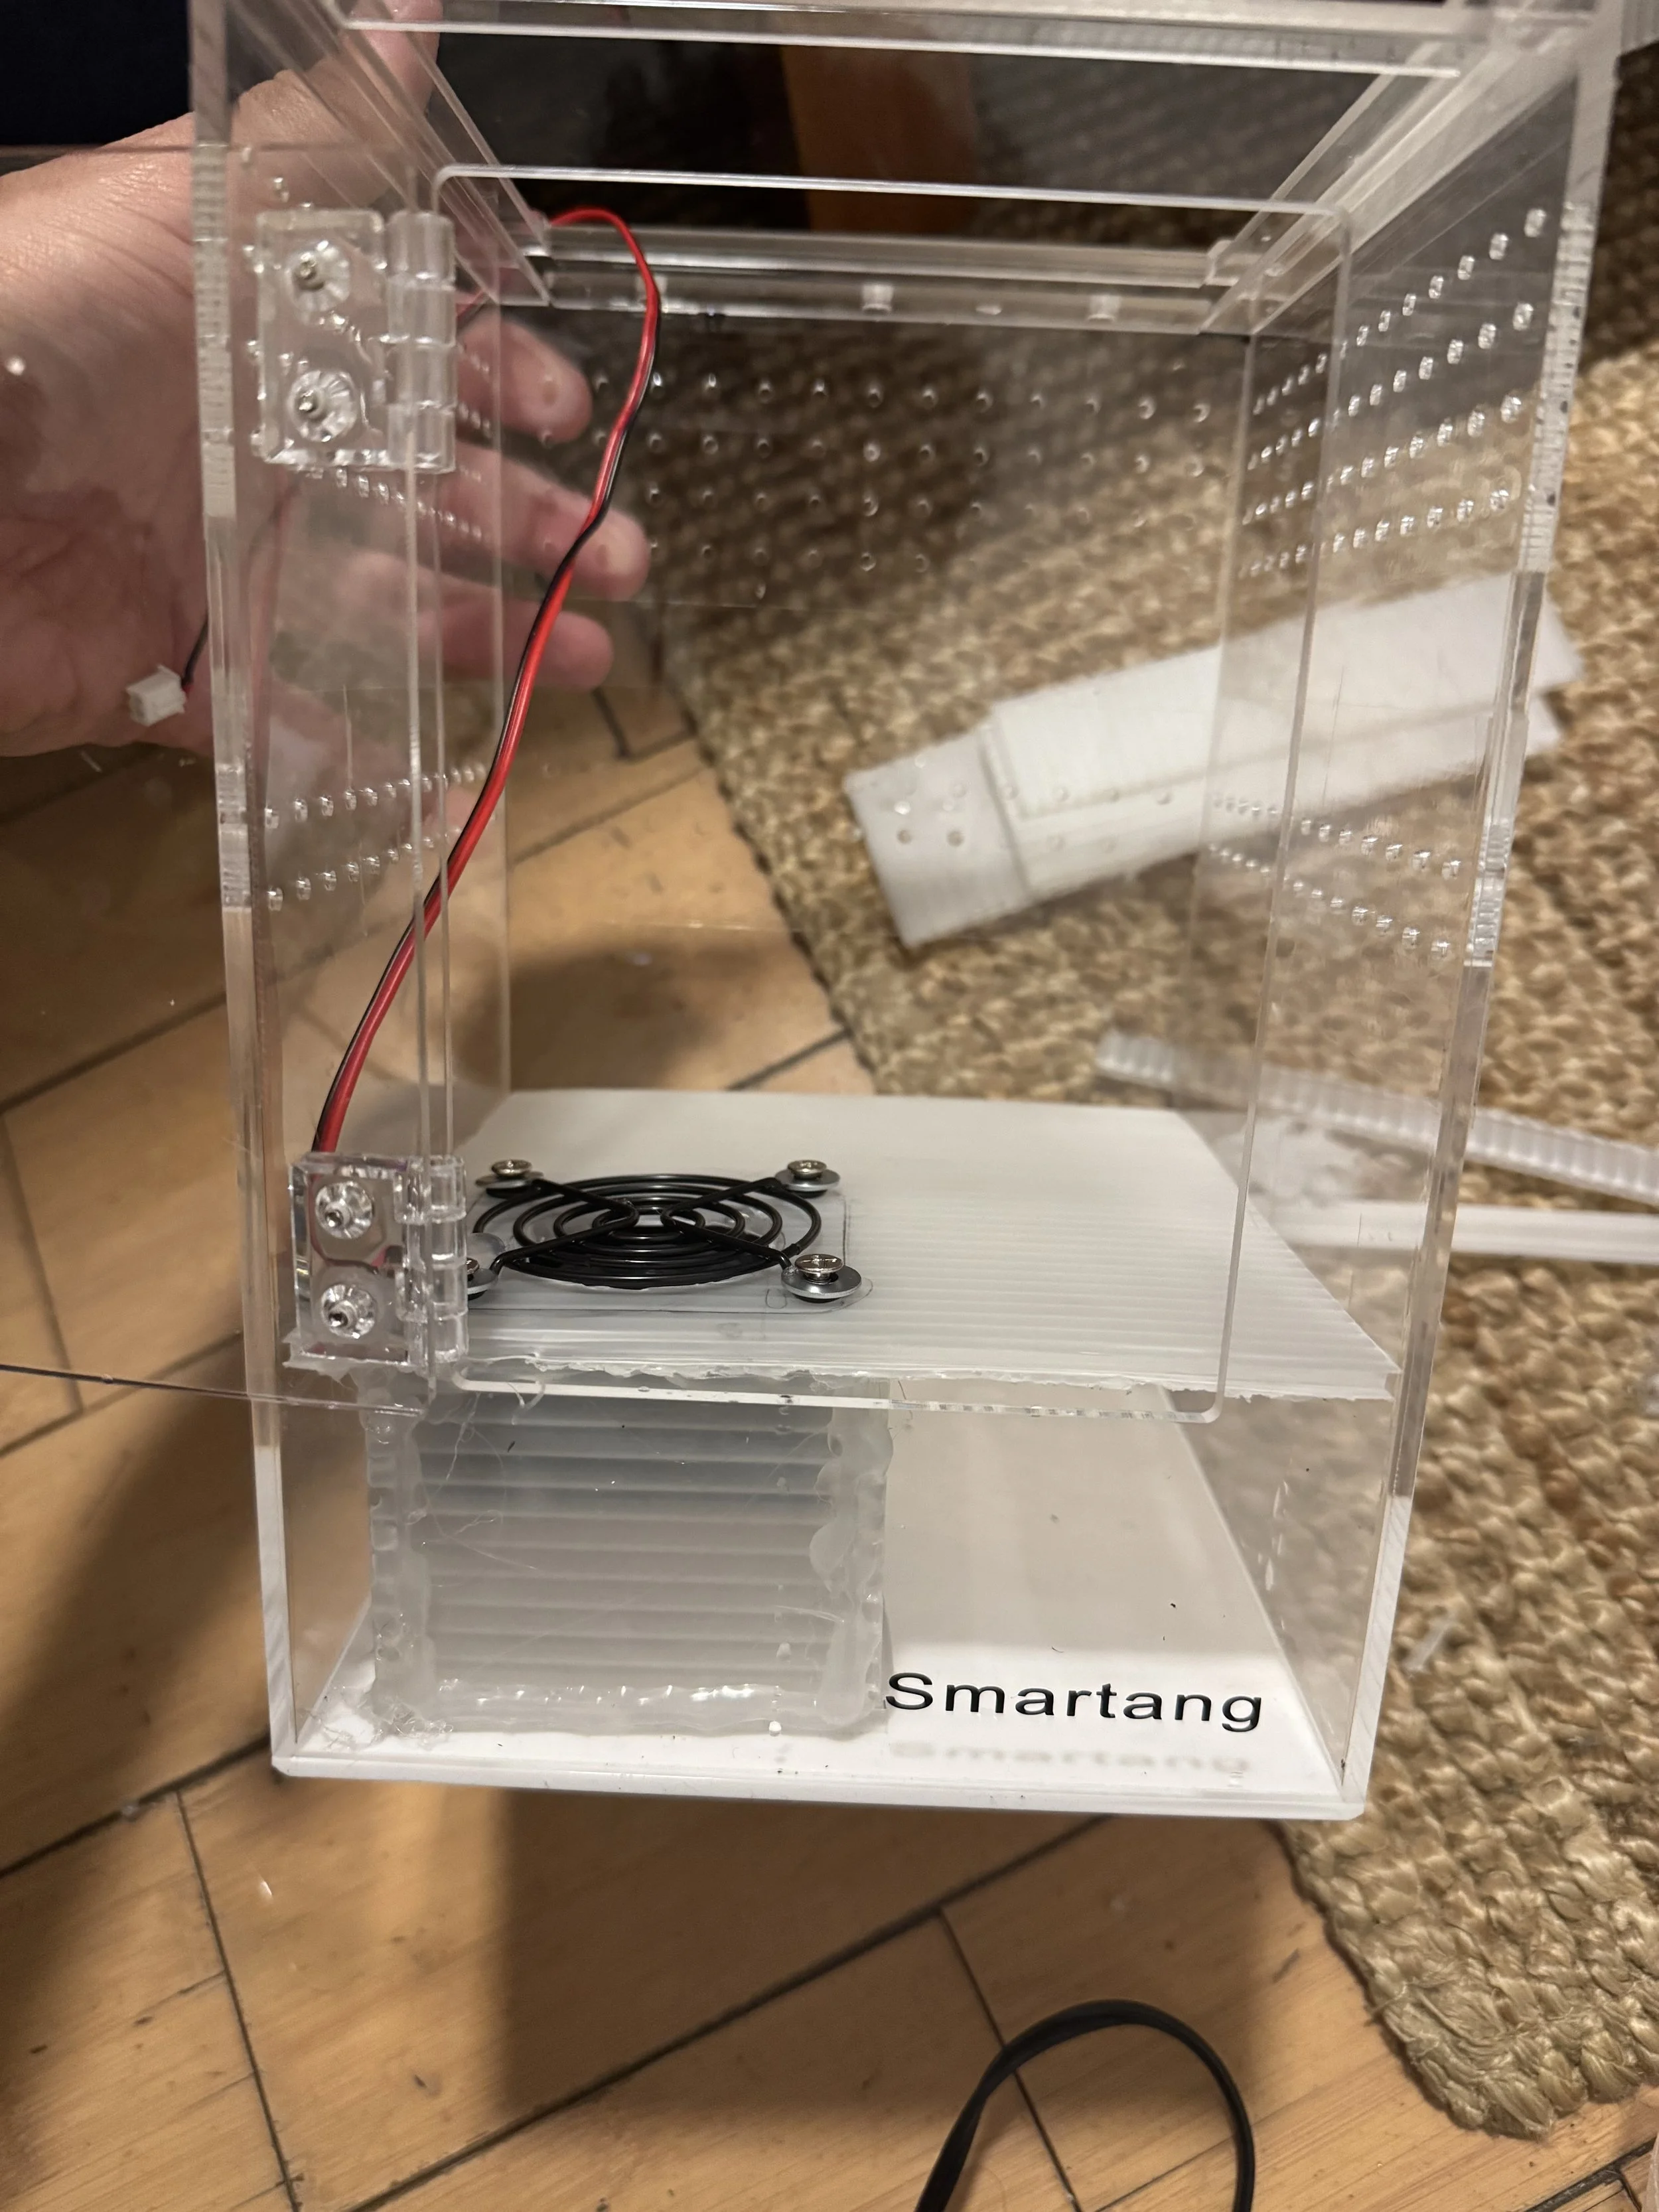
I connected the HVAC chamber the to enclosure with 1/2 inch PVC fittings and bulkheads.
Here is the exhaust vent finished and fixed onto the enclosure. Similar to the HVAC chamber I allowed for some room for air to build up below the fan. Interestingly the exhaust fan throttles at lower power levels while the circulation fan doesn’t seem to have that issue.